5 Common Starlink Setup Issues and How to Solve Them
Whether you’re camping in the outback or working remotely, the Starlink Mini is a lightweight (1.16 kg) and energy-efficient satellite internet solution. But setting it up can be tricky. Here are the five most common problems and their solutions:
- Connection Problems: Check cables, restart the system, or contact support.
- Signal Obstructions: Use the Starlink app’s Obstruction Finder and reposition the dish.
- Slow Speeds: Test speeds, optimise router placement, and manage network usage.
- Mobile Setup Issues: Secure the dish, ensure proper power, and follow relocation steps.
- Software Updates: Check for updates in the app and troubleshoot failed updates.
Quick Fix Guide
| Issue | Primary Solution | Secondary Check |
|---|---|---|
| Connection Problems | Reboot system (60-second power cycle) | Check cable connections |
| Signal Obstructions | Use the app’s obstruction finder | Reposition dish for a clear view |
| Slow Speeds | Run a speed test in the app | Monitor peak vs off-peak performance |
| Mobile Setup | Secure mounting | Check 12V/24V power connection |
| Software Updates | Update via the app | Manually update if automatic fails |
Stay connected by addressing these issues quickly. For more details, keep reading.
Troubleshooting steps for Offline – Starlink Unplugged or Rebooting
Fix Connection Problems
When your Starlink Mini loses connectivity, it could be due to hardware or software issues. Here’s how to troubleshoot and get back online as soon as possible.
Check Hardware Setup
Start by examining all physical connections. Loose or damaged cables are a common culprit. Look for signs of wear, corrosion, or moisture damage at connection points.
Make sure outdoor cables are properly weatherproofed – Australia’s tough climate can take a toll on exposed wiring.
Place your router in a central location, at least 30 cm away from other electronics and metal objects. It should also be protected from direct sunlight and rain. If everything looks fine but the issue persists, a system reboot might help.
Restart Your System
Rebooting your system can often resolve connectivity issues. Here are two methods to restart your Starlink Mini:
-
Power Cycle Method
Disconnect the router from its power source completely. Wait for at least 60 seconds before reconnecting. Keep in mind, the system may take up to 15 minutes to fully reboot and stabilise the connection [1]. -
App-Based Restart
If you still have access to the Starlink app, use its built-in reboot function:- Open the Starlink app.
- Go to Settings.
- Select the "Reboot Starlink" option [2].
Contact Support
If restarting doesn’t solve the problem, it’s time to reach out to Starlink support. To speed up the process, gather the following details beforehand:
| Details to Provide | Why It’s Important |
|---|---|
| Installation photos | Identifies potential setup issues |
| Power setup details | Helps troubleshoot power-related problems |
| Issue timeline | Tracks patterns of disconnections |
| Connection patterns | Highlights time-specific issues |
| App error messages | Offers diagnostic insights |
Submit your support ticket through the Starlink app or website. Be sure to include all relevant details. Starlink’s support team can run advanced diagnostics to pinpoint issues with your dish, cables, or router that basic troubleshooting might not detect [1].
Clear Signal Obstructions
Obstructions can interfere with the performance of your Starlink Mini by blocking its view of the sky.
To maintain a stable connection, it’s important to identify and address these blockages. Once you’ve ruled out hardware or system issues, focus on clearing any obstructions to ensure uninterrupted service.
Use the Obstruction Finder
The Starlink app includes an Obstruction Finder tool that uses your phone’s camera to assess your dish’s view of the sky [4]. Here’s what it shows:
- A blue dome representing clear areas
- Red sections marking obstructions
- Compass directions to help you locate problem areas [5]
How to use it:
- Open the Starlink app.
- Tap on ‘Check for Obstructions’.
- Follow the on-screen instructions.
- Review the obstruction map for problem areas [3].
Position Your Dish
For optimal performance, your Starlink Mini needs a clear view of the sky. Make sure the dish has:
- An unobstructed view from 20° above the horizon.
- Full 360° rotation clearance.
- An elevated position to avoid obstacles [6].
Here are some mounting options to consider:
| Mounting Location | Benefits | Considerations |
|---|---|---|
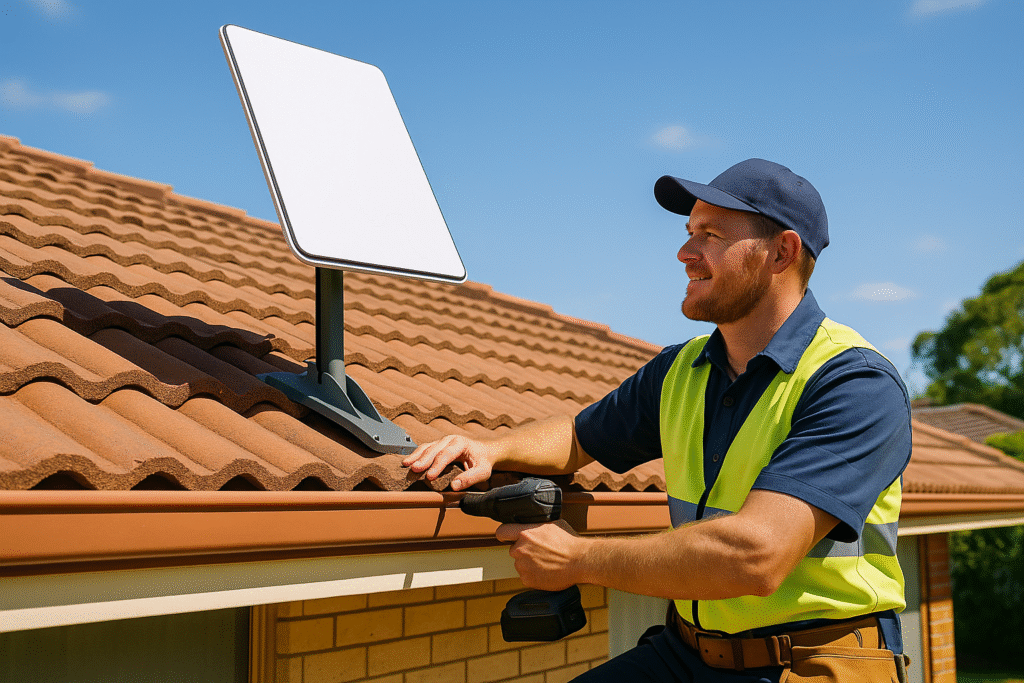
| Rooftop | Best sky visibility | May require professional setup |
| Elevated pole | Flexible positioning | Needs secure installation |
| Ground level | Easy to access | Higher risk of obstructions |
Deal with Moving Objects
Moving obstructions, like swaying trees or vegetation, can cause intermittent connectivity issues. If you experience disconnections, try repositioning your dish to a higher location. In areas with permanent obstructions, installing multiple dishes may help maintain consistent coverage [6].
sbb-itb-ab5f32a
Fix Slow Internet Speeds
If your Starlink Mini isn’t meeting your speed expectations, several factors could be affecting your connection. Here’s how to pinpoint and fix these issues.
Test Your Speed
Start by checking your current internet speeds:
- Use the Starlink app’s built-in tools: App-to-Internet, App-to-Router, and Router-to-Internet tests.
- Test speeds during both peak hours (6:00 pm–11:00 pm) and off-peak hours. If speeds are consistently low even during off-peak times, there might be a technical issue.
Once you’ve tested, consider the common factors that could be slowing things down.
Factors Affecting Speed
Your Starlink Mini’s performance can be influenced by several elements:
| Factor | Impact | Solution |
|---|---|---|
| Peak Hours | Slower speeds between 6:00 pm–11:00 pm | Schedule large downloads during off-peak times |
| Weather | Heavy rain or dense fog can weaken the signal | Consider a backup internet option for severe weather |
| Router Position | Poor Wi-Fi coverage | Place the router in a central, open area away from interference |
| Network Load | Too many connected devices | Limit the number of devices connected to the network |
"Peak hours are the times during the day when many Starlink users are trying to use their service at the same time (typically between 6pm and 11pm local time). While we do our best to optimise performance for all users, you may experience varying or slower speeds during these times of peak usage." – Starlink Help Center [7]
Tips to Improve Speed
To get the best performance from your Starlink Mini, try these steps:
-
Optimise Router Placement
- Place your router upright in a central, open spot.
- Use the Wi-Fi Range tool in the Starlink app to find the best position.
- Avoid placing it near metal surfaces or electronic devices.
-
Improve Connection Quality
- Split your network into 2.4GHz and 5GHz bands for better control.
- Use Ethernet cables for devices that need a stable connection.
- Update the router’s software and clear its cache regularly.
-
Manage Network Usage
- Change your Wi-Fi password to prevent unauthorised access.
- Use the Starlink app to monitor and limit connected devices.
If you’ve tried these steps and your speeds are still underwhelming, reach out to Starlink support for further assistance.
Set Up Mobile Connections
Mount Your Dish Safely
Ensure your dish is mounted securely by following these guidelines:
- Place the dish on a flat, stable surface with a clear view of the sky and minimal vibration.
- Use mounting systems designed specifically for vehicles.
- Tighten all mounts firmly to handle movement during travel.
Power Your System
The Starlink Mini requires a specific power setup for optimal performance:
- A minimum 100W (20V/5A) power source is needed. It’s compatible with 65W (12-48V) USB-C power banks and can connect directly to a 12V system using DC-to-DC cables.
For off-grid setups, consider these power options:
-
Portable Power Stations
- iTechworld PS2000 (1997Wh): Powers the Starlink Mini for about 33 hours.
- iTECH1300P (1254Wh): Provides approximately 21 hours of use.
-
Vehicle Power
Use the Starlink Mini DC Power Cable ($32.00) to connect directly to your vehicle’s 12V system, avoiding the inefficiency of inverters [8].
"Ensure reliable power for your Starlink Mini Terminal with our high-performance DC to DC cables, designed for optimal efficiency and durability in various setups, including RVs, vans, and remote locations." – SpaceTek [8]
Move Between Locations
Follow these steps when relocating your system:
- Turn off the system before moving it.
- Secure all components to prevent damage.
- Check that all cable connections are intact.
- Use the Starlink app to check for any obstructions at the new location.
- Update your service address if necessary.
- Allow time for the system to reconnect after moving.
If you’re travelling in Western Australia, Offgrid Internet provides flexible plans:
- Standard Plan: $10/day (50GB/month cap)
- Unlimited Plan: $20/day (minimum 3-day hire)
Both plans include power cables and vehicle adapters. If you frequently change locations, upgrading to a Roam service plan might be worth considering.
Update Your System
Maintaining a reliable connection isn’t just about the hardware – it also requires up-to-date software. Once you’ve tackled connection and speed issues, it’s important to ensure your system software stays current.
Check Your Software Version
Make sure your Starlink Mini is running the latest software. Open the Starlink app, go to ‘Advanced,’ and look under the "Starlink" section to find your software version. You can also check the "Uptime" counter, which resets after each firmware update, showing when the last update occurred.
Starlink Mini updates automatically between 1:00 AM and 4:00 AM. The specific version you receive depends on your location in Australia, your Mini model, and your service plan.
Dealing With Update Errors
If an update doesn’t go through, try these steps:
- Update the Starlink app via your device’s app store.
- Confirm that your internet connection is stable.
- Check the update indicator on the app’s status screen.
Update issues are often due to extended offline periods, failed automatic updates, or unstable connections during the process.
Manual Updates
If the automatic update fails, you can update manually by following these steps:
-
Prepare Your System
Ensure the Mini is powered on, online, and running the latest version of the app. -
Start the Update
Use the manual update feature in the app and follow the instructions provided. -
Track Progress
Monitor the status screen during the update. A successful update will result in a system reboot, a reset "Uptime" counter, and a new software version displayed in the app.
Ready to experience lightning-fast internet? Sign up for a Starlink plan today through our exclusive link and get a FREE month of service! Don’t miss out – start your journey with Starlink now!
»»» Sign Up Now for Your Free Month! «««
Next Steps
Keep these solutions in mind, and if issues persist, don’t hesitate to reach out to support. Here’s a summary of the fixes outlined earlier.
Quick Fix Guide
Use this table as a quick reference for tackling common Starlink Mini issues:
| Issue | Primary Solution | Secondary Check |
|---|---|---|
| Connection Problems | Reboot system (60-second power cycle) | Check cable connections |
| Signal Obstructions | Use the app’s obstruction finder | Reposition dish for a clear view of the sky |
| Slow Speeds | Run a speed test in the app | Monitor peak vs off-peak performance |
| Mobile Setup | Secure mounting | Check 12V/24V power connection |
"Use the Starlink app for support as it automatically sends diagnostic data for faster resolution." – Starlink Help Center [9]
For those in Western Australia, renting a Starlink Mini offers a chance to test these solutions without long-term commitment.
Rent A Starlink Mini in WA
If troubleshooting on your own doesn’t solve the problem, renting a Starlink Mini could be the next step to ensure a stable connection. Offgrid Internet provides two rental options in WA: Standard at $10/day (12.5GB weekly cap) and Unlimited at $20/day (3-day minimum hire).
Each kit includes:
- Starlink Mini antenna
- 15-metre power cable
- 240V adapter
- 12/24V vehicle power cable
- Protective carry bag
For comparison, other providers in WA offer similar services. Rent a Sat Phone starts at $15 per day with a 7-day minimum hire, while Landwide Satellite Solutions offers their In Motion kit from $280 per week.