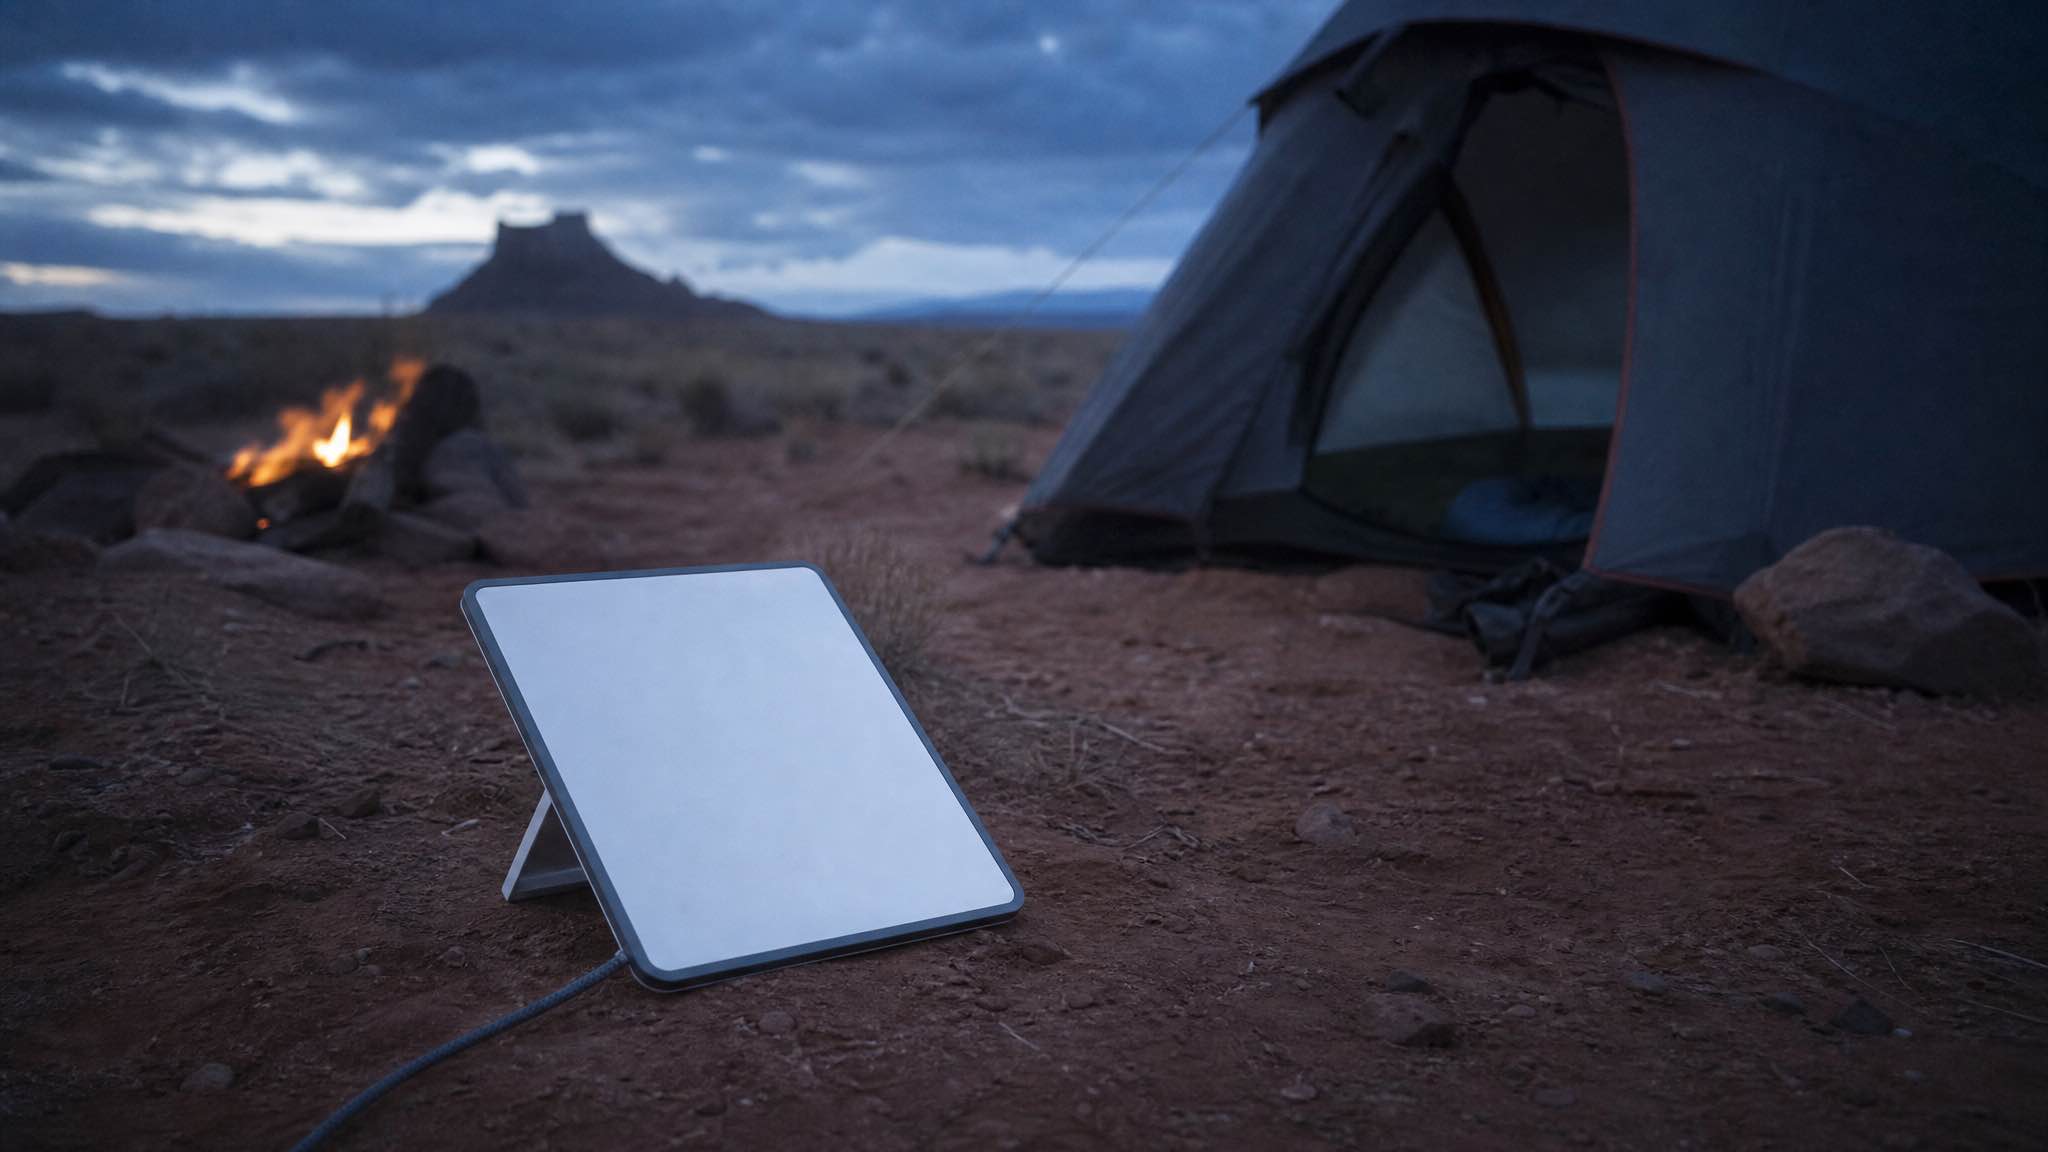
If you camp far enough out, mobile coverage dies. Telstra holds longest, then nothing. Satellite is what fills that gap, and Starlink® is the only one that actually feels like home internet once you set it up properly.
This guide is the short version of what saves a trip from “no signal” misery: which kit to take, how to power it, where to point it, and how to keep it alive when the weather turns.
Quick takeaways
- Starlink Mini is the camping unit. Light, low power, packs into a sleeve. The full-size Standard kit works too but draws more.
- Power is the real planning job. Mini pulls 20-40W; over 24 hours that’s roughly 500-960Wh. Plan a power station or solar to match.
- Clear southern sky is non-negotiable. Use the Starlink app’s obstruction check before you commit a spot.
- Hire before you buy. Our Starlink hire kit from Perth runs one unlimited plan from $179/week (cheaper the longer you stay), with a $300 refundable bond and a 10% deposit.
- Protect the dish. Hail, UV and dust will all have a go at it in the WA outback.
1. Pick the right kit
Two Starlink units matter for camping:
- Starlink Mini. The one most travellers use. Single unit, integrated WiFi, runs on 12V or AC, packs flat.
- Starlink Standard (Gen 3). Bigger dish, faster top speeds, higher draw. Better for caravan parks with shore power than for true off-grid.
If you only have one trip a year, hiring is the call. Offgrid Internet’s Mini kits include the dish, integrated router, 15m cable, 12/24V cigarette plug, carry bag and basic cable management. It is one unlimited plan, no caps and no overage bills: $179/week for a 7 to 13 day hire, $22/day from 14 days, and $19/day from 25 days. Bond is $300, deposit is 10%.
What to check on any satellite system
| Feature | What you want | Why |
|---|---|---|
| Power draw | 20-40W (Mini), 50-75W (Standard) | Decides your battery and solar |
| Weather rating | IP67 or better | WA dust, rain, salt spray |
| Setup time | Under 15 minutes | You’ll set up tired, in the dark, at some point |
| Throughput | 100-200 Mbps real-world | Plenty for video calls and streaming |
| Proof it holds up | We measured 180 Mbps at Esperance, 175 at Exmouth | Both on hire kits, months apart |
| Weight | Under 10kg | You’ll carry it more than you think |
2. Sort the power supply first
The single biggest reason satellite setups fail at camp is flat batteries, not bad alignment.
Rough numbers for Starlink Mini:
- Active: 20-40W
- Idle (sleep mode): around 15W
- Over a full 24 hours of active use: 480-960Wh
Add the laptop, the phone, the headlamp, the fridge. It adds up.
Power options that work in the bush:
- Portable power station. A 500-1000Wh LiFePO4 unit (Jackery, EcoFlow, Bluetti) will run a Mini for a full day with some headroom for a laptop. LiFePO4 chemistry handles WA heat better than older lithium-ion.
- Solar top-up. A 100-200W folding panel in clear sun will keep most stations level through the day. Cloudy days you lose roughly half.
- 12V direct from the car. Skip the inverter. The Mini accepts 12-48V DC, and going straight off your dual-battery setup avoids 10-15% inverter losses. Offgrid kits ship with the 12/24V cigarette cable for this.
Stretching what you have:
- Run the Mini in sleep mode when you’re not actively online. Saves about half the active draw.
- Park in a spot with morning sun on the panel.
- Pre-download maps, podcasts and shows on home wifi before you leave.
3. Find the right spot for the dish
Starlink needs a wide clear view of the sky, roughly a 100 degree cone, ideally open all the way down to one horizon. The dish steers itself electronically once it locks on; you just need to give it sky to look at.
What blocks it:
- Tall eucalypts directly overhead
- Cliff faces, rock overhangs, dense canopy
- The side of your van or caravan if you mount low
Use the Starlink app’s “Check for Obstructions” before you commit. It takes 90 seconds with the phone camera. Saves you setting up in the wrong corner of camp.
Tweaks by environment
- Beach camping. Get the dish off the sand, away from salt spray. A pole mount or the tripod up on a folding table works. Rinse cable ends with fresh water if you’ve been close to the shore.
- Bush camping. Hunt for natural clearings. The 15m cable that ships with the kit means the dish doesn’t have to sit next to the tent.
- Desert and red dirt. Keep the dish elevated to reduce dust ingress around the cable seal. A small tarp lean-to keeps the worst of the afternoon sun off it.
4. Set it up properly the first time
The Gen 3 Mini is genuinely close to plug-and-play. The order matters though.
- Check the kit. Dish (router built-in on the Mini), 15m Starlink cable, AC power supply or 12V DC cable, kickstand. Done.
- Position the dish. Kickstand or tripod, level ground, clear sky. Cable run away from foot traffic.
- Power it up. AC into the supply, or 12V DC into your battery. Wait for the dish to wake and self-align. The Standard model tilts itself; the Mini is fixed but the app shows you the angle to set.
- Connect. Default SSID and password are on the unit. Open the Starlink app, run the obstruction check, you’re online.
Common setup mistakes
| Problem | Fix | Avoid next time |
|---|---|---|
| Patchy signal | Move dish for cleaner sky | Run the obstruction check first |
| Drops every few minutes | Reseat the cable at both ends | Don’t run cable under tyres or stake lines |
| Weak wifi at the tent | Move router closer or add a mesh point | Don’t put the dish 15m from where you actually sit |
| Won’t power on from 12V | Check voltage at the plug | Use thick enough cable for the run length |
Packing up
Use the app to stow the dish (Standard model), unplug the cable from the dish side first (it’s the more fragile end), coil loosely, and store in the carry bag. Don’t pack a wet dish into a sealed case, give it ten minutes to dry.
5. Get more from the connection you’ve got
A few small things make a noticeable difference.
Alignment. The Mini’s kickstand is fine for casual use, but a cheap camera tripod with a phone-style mount holds the dish steadier in wind and stops a gust from nudging it off a good patch of sky. Steady beats precise here: the dish steers electronically, so what you are protecting is the clear view, not a hand-set angle.
Data sense. Our hire is unlimited, so there’s no monthly cap to ration and no overage bill to worry about. Even so, a few habits keep speeds snappy and your off-grid power draw down:
Easy wins:
- Drop video calls to audio when you can
- Set streaming to 720p instead of 1080p
- Turn off auto-updates for phone apps and laptop OS
- Pre-download Netflix, Spotify, podcasts at home
Because the plan is unlimited, real remote work, multiple people, or kids on YouTube are no problem. No cap, no rationing, no overage bill.
Coverage at the campsite. The Starlink WiFi reaches 20-30m in open air, less through canvas and metal. A small mesh node or a USB wifi range extender plugged into the router covers a larger camp.
6. Protect the gear from WA weather
Standard warranty doesn’t cover weather damage. WA can throw all of it at you in one trip: 42 degree afternoons, hail in the wheatbelt, dust storms across the goldfields, salt air on the coast.
The main risks and what handles them:
| Risk | Protection |
|---|---|
| Hail | A purpose-made dish cover (Dishy Shield, MTSAT) |
| UV degradation | Pack the dish away when not in use; UV-rated cover if it lives outside |
| Lightning | Disconnect the cable at the router end during storms |
| Heavy rain | The dish itself is IP67, but check the cable seal at the back of the dish |
| Dust | Wipe the dish face with a microfibre, never with a dry rag |
Storage between sessions:
- Coil cables loose, not tight. Tight coils break the inner copper over time.
- Store the dish and router in separate padded compartments. The dish face scratches easily.
- In the car, secure it so it can’t slide. Corrugated roads will work loose anything that isn’t tied down.
7. Fix it when something goes wrong
Most problems are one of three things: obstruction, power, or cable.
No signal or repeated dropouts.
- Walk around the dish and look up. Anything overhead that wasn’t there at setup? A branch, the corner of an awning, a parked vehicle?
- Re-run the obstruction check.
- If it’s a thunderstorm, you may genuinely be offline for the duration. Heavy rain attenuates the Ku-band signal Starlink uses.
Won’t power up or keeps rebooting.
- Check voltage at the dish end with a multimeter if you have one. Long thin cigarette-plug cables drop voltage badly.
- Try AC if you have an inverter, just to isolate whether it’s the DC side.
- Inspect the cable connectors for bent pins or grit.
WiFi works but no internet.
- Open the Starlink app and check the dashboard. If it shows “Obstructed” or “Connecting”, it’s a sky-side issue.
- Reboot the router (hold the button for 6 seconds or pull power for 30 seconds).
- Check for a firmware update.
Still stuck. If you’ve hired from Offgrid Internet, ring the Perth team. We swap kits and walk you through fixes the same day where we can. For owned kits, Starlink in-app support is the fastest path; their chat usually replies within an hour.
Worth it?
For weekend trips to coastal caravan parks, probably not. You’ll get by on the phone.
For anything inland, the Kimberley, the Pilbara, the Nullarbor, the southern forests, or any trip longer than four nights, satellite earns its place. It’s the difference between checking in with family, getting a weather warning in time, and being able to work an extra week from a beach instead of cutting the trip short.
Hire it before you buy it. Cheapest way to find out whether you use it enough to justify the $499 hardware and a monthly plan on top of that.
If you want to check your route first, our page on Starlink coverage in WA covers the trips we hire for most.